ecto File/Image Upload
This section is provided to give a detailed view of uploading images and files in ecto.
ecto's file or image upload capability is a great way to add well-placed graphics on your blog. No need to know how to use html and you can even turn a large photo in to a size that fits perfectly on your blog. To access the upload window, click on the 'Upload Files...' toolbar button or "Insert->Files..." menu option in the Post Window.
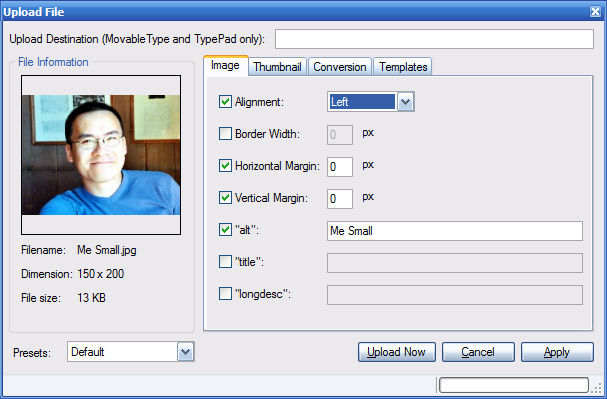
After first chosing a file through the Open File window. If the file selected is an image file, you'll see a window much like the one above. If you want to put the image file in a subfolder, enter that name in the 'Upload Destination' field.
If the file is not an image file, the hyperlink will be generated for the selected file and insert into the post automatically.
Image Tab
The 'Alignment' field controls how the image fits in the page. If you align an image to a certain spot, your text will become justified and flow around the image in your post. You can apply a border to your image as well as giving it vertical and/or horizontal margins. The last three options on this page are for different ways to label your image. These names won't show up unless the image doesn't load or unless you place your mouse over the image. As a side note, the 'alt' tag is required on images if you want to keep your blog XHTML compliant.
Presets
The settings in the Image tab as well as the Upload Destination can be saved as a Preset for use again later.
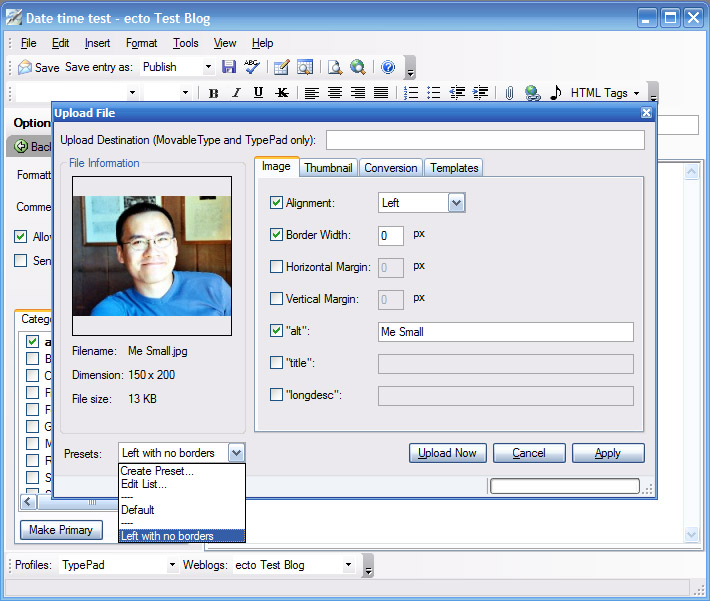
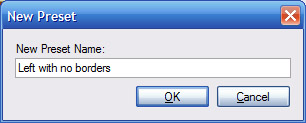
After setting all the options for an image upload, select the 'Create Preset...' option and the 'New Preset' window will open for you to enter the new preset name. The new preset will be added to the list of presets in the 'Presets' dropdown list.
To reset the image options back to factory defaults, just select the 'Default' option in the 'Presets' dropdown list.
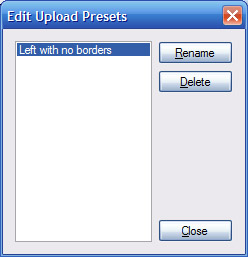
Selecting the 'Edit List...' option in the 'Presets' dropdown list brings up the 'Edit Upload Presets' window. In this window, you can rename and delete any presets you have previously created.